Oyster Mushroom Grow Kit Instructions
What’s in the box?
The grow kits contains everything you need to grow delicious oyster mushrooms in the comfort of your own home.
Please note: the kit is a living organism with a life cycle that culminates in producing mushrooms. This can be slowed down for a few weeks by keeping the box cool but eventually mushrooms will grow out of the closed box! For storage a fridge would be ideal, but anywhere that is below 10 degrees C (celsius) will be okay. We still advise a use by date, which you can find on the bottom of the box.
How does it work?
We have prepared the highest quality oyster mushroom substrate block from natural ingredients (British straw, waste coffee grounds, wood shavings and fungi spawn) in our low-tech, environmentally friendly mushroom farm just 1 mile from Leeds city centre.
We incubate the substrate blocks for two weeks in a dark, temperature controlled environment (the boring bit) so all that’s left is for you to give the fungi some fresh air and moisture, then sit back and watch those mushies grow!
Preparing your Oyster Mushroom Grow Kit
You will need:
- Sharp knife or scissors - Fork - Spray bottle (an old cleaning spray bottle works great)
- Using a sharp knife or scissors, carefully cut out the perforated circle in the cardboard, exposing the plastic grow bag below.
- Hold the grow kit firmly and use a knife to make 2 x 10cm cuts in the plastic in the shape of a cross or ‘X’ - exposing the substrate block to the air. Leave the plastic flaps in place if possible, as this will help to create a humid environment, which promotes mushroom formation.
- Give it a good water with the spray bottle.
- Place the kit upright (the little mushroom logo will be on top) in a position that receives natural light but not direct sunlight, and some general ventilation. The kit is designed to be used indoors and will be happy at any room temperature.
- A good position could be on a kitchen counter, in a hallway, on a coffee table or on a windowsill facing away from the sun, even a bathroom or a bedroom!
The growing stage
- Water with the spray bottle once or twice a day, making the exposed substrate visibly moist.
- Once mushrooms start to appear, try to just spray the substrate, not the mushrooms. When they grow to a size which makes this difficult you can stop watering the kit.
- Every kit is different and can take from 1 – 2 weeks to produce mushrooms ready for harvest.
- You can expect to start seeing the primordia/pinning (mushrooms appearing as tiny pin heads) after 4 - 7 days, sometimes longer.
- Once the pins are formed the mushrooms will double in size every 24 hours and will be ready to harvest after 3 – 7 days.
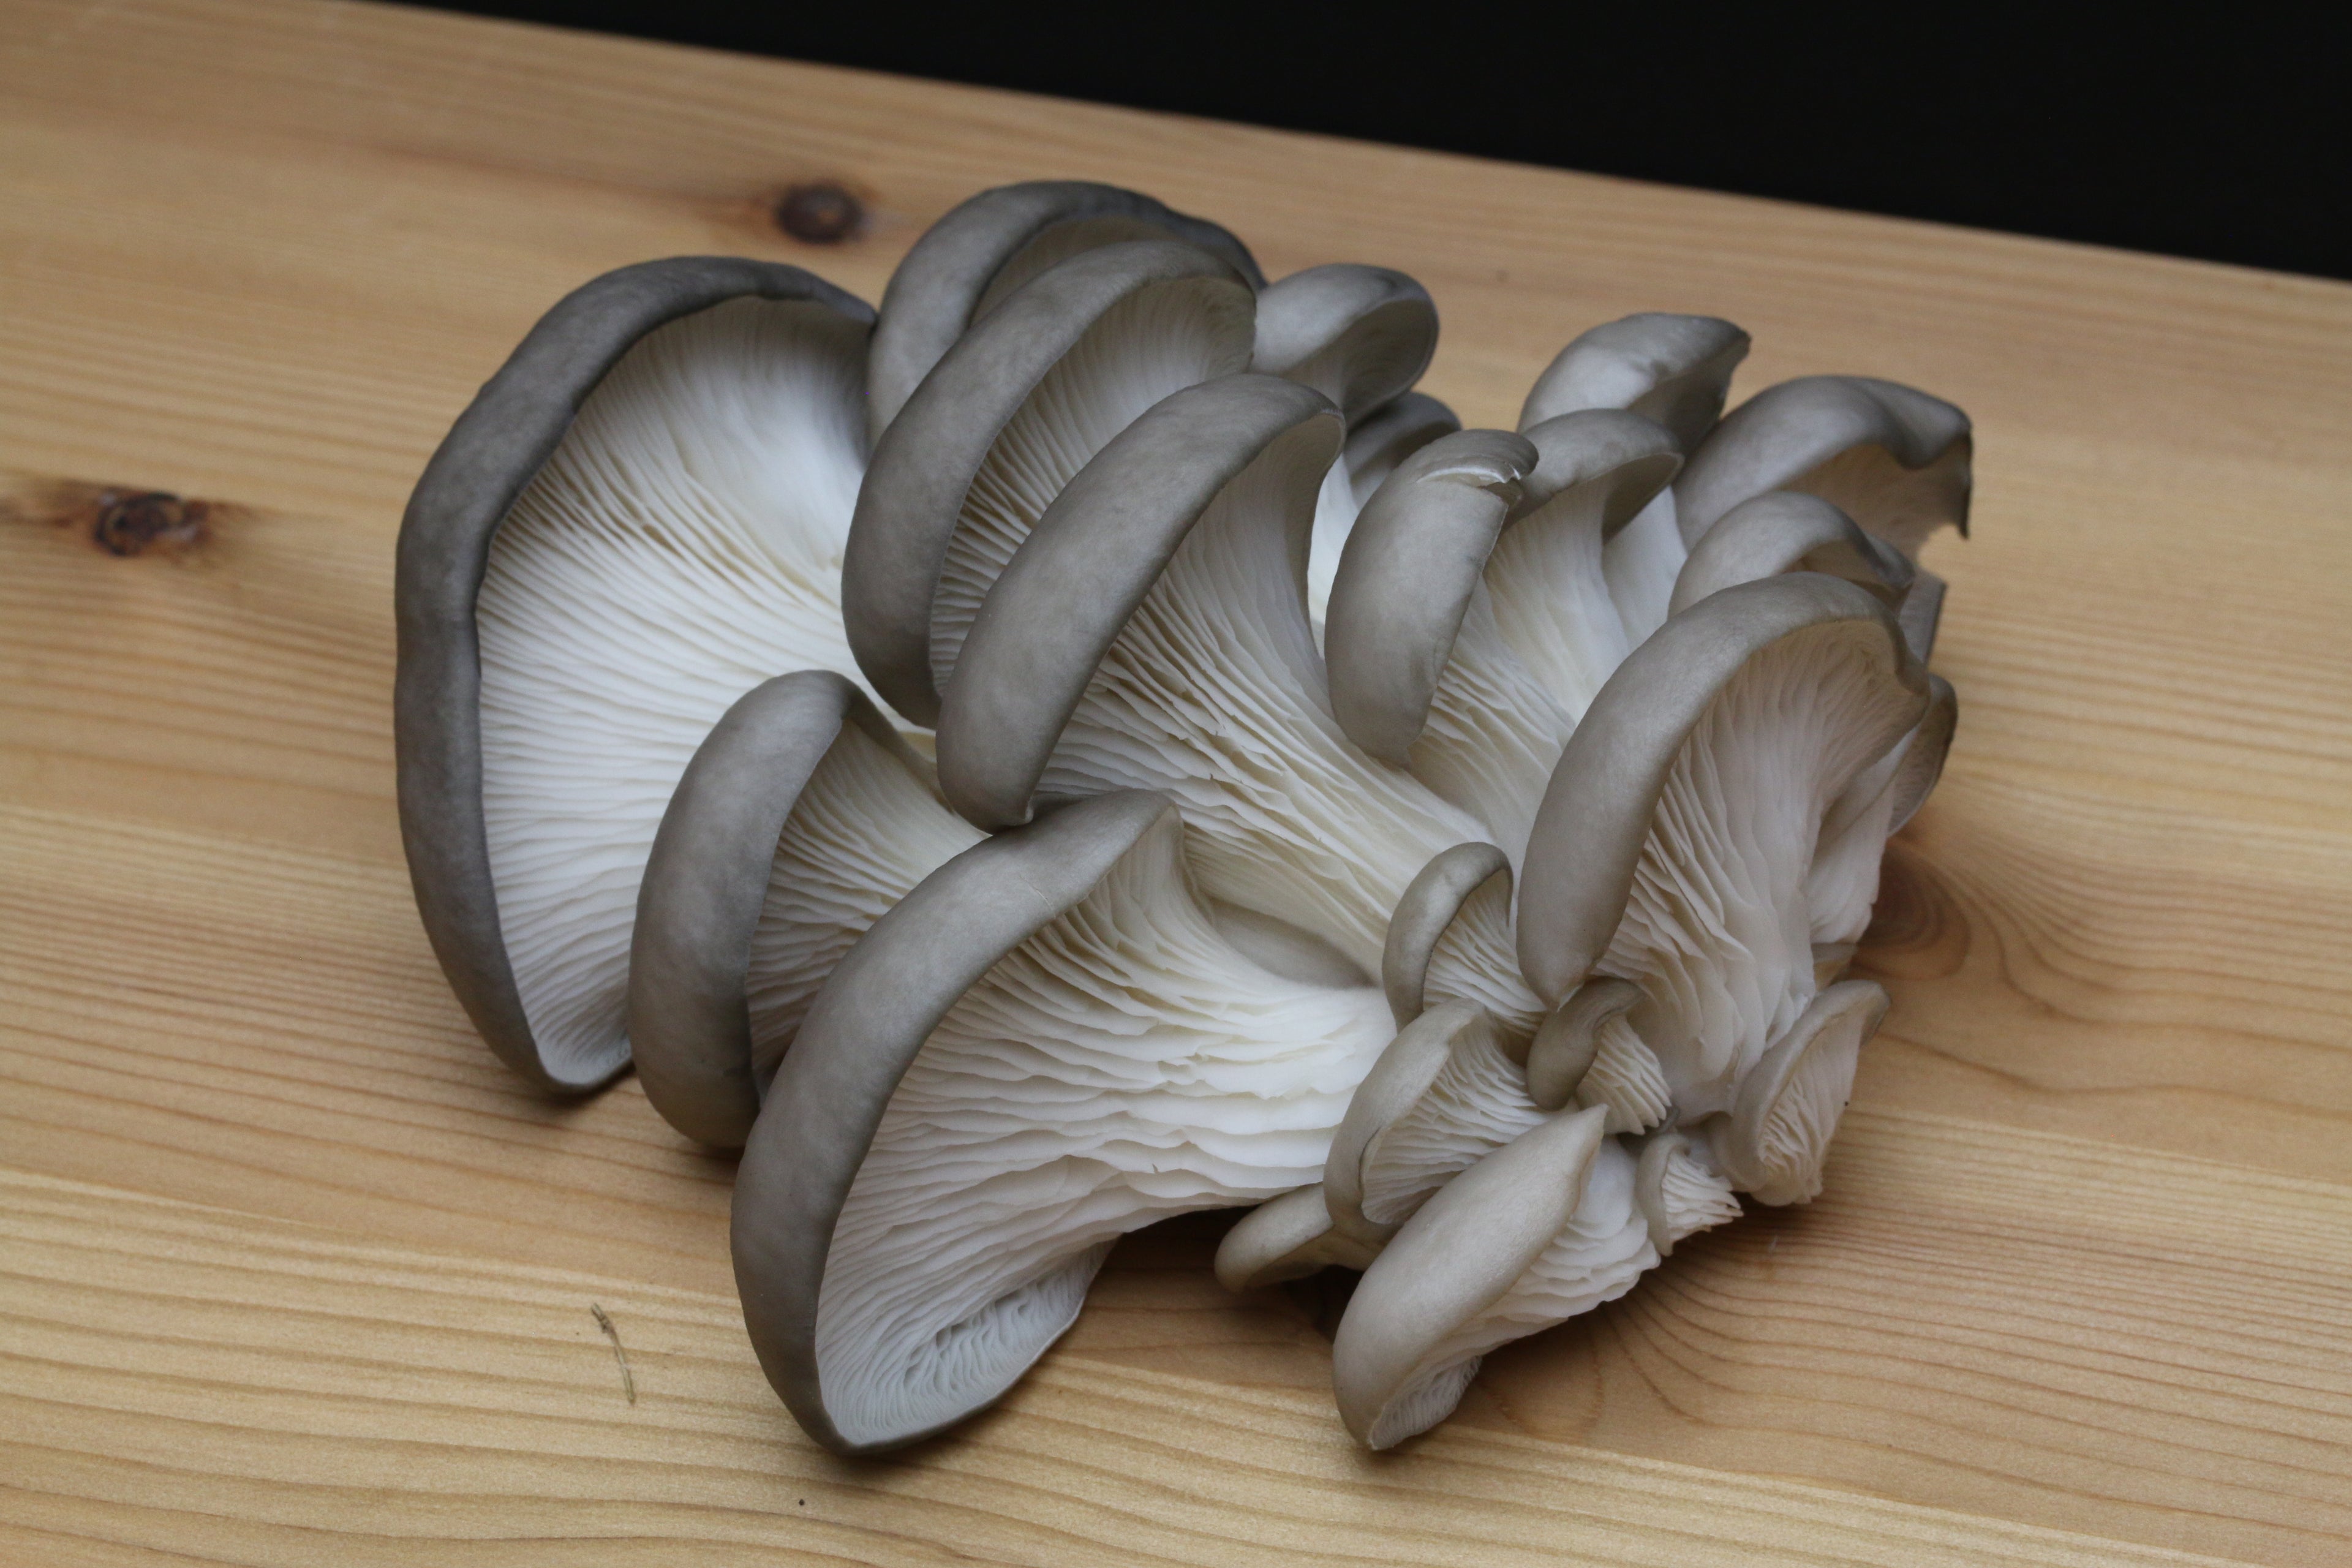
Harvesting your Oyster Mushrooms
- The mushrooms will grow with the edges of their caps turned down, gradually moving upwards. Try to harvest them just as the caps start to flatten out.
- To harvest, grab the mushroom cluster with two hands close to the base of the stem and twist firmly to release them from the substrate block. Alternatively, you can use a sharp knife to cut off the cluster of mushrooms at the base of the stem.
- They are best used as quickly as possible, but they can keep well in the fridge for 3-5 days. Lightly cover a bowl or Tupperware with some greaseproof paper or kitchen roll.
And finally...
- Take a picture of your growing kit or a meal you’ve made with the mushrooms and tag us on social media! @yorkshiremushroomemporium
- If the mushrooms are still being shy after 2 weeks, please contact us via email (yorkshiremushroomemporium@gmail.com) and we will help you coax them out.
Want to get more for your money?
70% of the mushrooms come from the first flush (harvest), but multiple flushes are possible.
- After harvesting your mushrooms, give the kit a few days rest before removing the substrate block from the cardboard grow box, keeping it in the plastic grow bag.
- Rehydrate the kit by placing the bag opening side down in a bucket of tap water overnight. You may need to place something heavy on top as the kit is buoyant.
- Leave the block to drain for a few hours then return it to the cardboard box, in its previous growing position.
- Water with the spray bottle once or twice a day, making the exposed substrate visibly moist until mushrooms start to appear.
Want to get even more for your money? - How to recycle the substrate block
As Yorkshire men we love getting value for money and utilising every element of the delights we produce. The spent mushroom substrate still has plenty of nutrients that are accessible by plants and microorganisms and make a fantastic supplement to the garden or homemade compost!
- Remove the substrate block from the cardboard box and remove the plastic grow bag – this will go in the landfill bin whilst the sleeve and box are recyclable.
- Using a spade or trowel break the substrate block up and distribute into your compost bin or work it directly into soil.
- The cardboard box can also be composted if ripped up into smaller pieces - just be sure to remove the shiny stickers before composting.
- If you don’t have a garden or compost heap, please put the substrate block into your council garden waste bin.